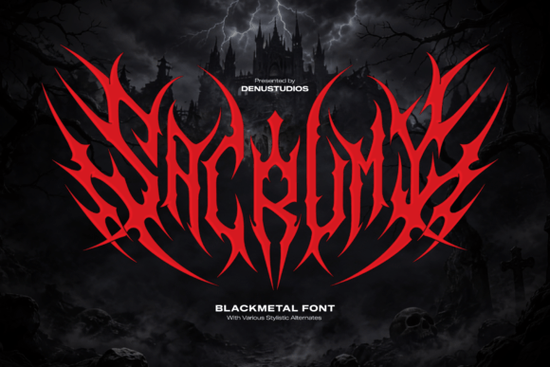
When you need a display typeface that cuts through clutter without relying on thin lines or delicate details, Sacrumy Font delivers immediate visual weight. This heavily stylized blackletter option works best when you want your typography to carry the mood of the entire piece. Designers, crafters, and print‑on‑demand sellers use it to anchor bold layouts, while streetwear creators lean on its sharp edges for capsule drops. If your project requires raw edge rather than traditional elegance, this cut brings structured chaos to headings, posters, and logo marks without demanding complex tracing or manual vector editing.
Many creators assume heavy gothic styles only belong in niche subcultures, but the reality is simpler. The right distressed serif handles high contrast environments well. It stays legible at large scale, which matters when printing on apparel, murals, or event backdrops. You will notice how the thick counters and pronounced flourishes create strong negative space. That structure prevents the letterforms from melting together when printed on textured materials or screen‑printed garments.
Where does this style fit into current design workflows?
The most common use cases involve projects that need instant recognition. Music groups place it on tour posters and limited vinyl runs because the heavy strokes reproduce cleanly across different press methods. Craft vendors apply it to stencils, decals, and laser‑cut signs because the wide gaps handle cutting blades without sniping tiny corners. E‑commerce store owners drop it into sale banners or collection headers to match edgy brand personalities. It also serves indie game developers who need title cards or health bar labels that read clearly against busy backgrounds.
Pairing matters just as much as choosing the right weight. You can combine this typeface with clean sans serifs for body copy, leaving the aggressive display version to command attention. Testing at actual print size helps you catch spacing issues before sending files to production. Many creators find that adding subtle tracking adjustments improves readability on curved surfaces or uneven substrates. When you run multiple test prints, you quickly learn which line heights prevent clashes between descenders and overlapping graphics. Reviewing related blackletter collections at this resource page can also save time during the planning phase.
How do you avoid the heavy look becoming overwhelming?
Overcrowding is the main reason these displays lose impact. Leave generous margins around every word group, especially when layering textures or photography behind the text. A dark background with light lettering often preserves the sharpest contrast, while inverted colors work best on solid matte finishes. Keep secondary elements minimal so the eye rests on the primary message. If you need supporting information, switch to a lighter weight or a completely different family instead of trying to squeeze paragraphs into the same display stack.
Accessing the correct files usually comes down to verifying license terms and character coverage. Most modern distributions include standard Latin glyphs, punctuation, and optional ligatures. Check whether stylistic sets are documented inside the font software settings, then adjust kerning pairs manually if auto‑spacing looks uneven. Running a quick preview in your preferred design app catches alignment problems before export.
Which alternatives complement this aggressive aesthetic well?
When building a full typographic system, consistency keeps the layout grounded. You might pair the primary display with a geometric mono or a high‑readability humanist sans. Those combinations balance noise with clarity, which helps mixed‑media projects stay professional rather than chaotic. Exploring other options within the same classification helps you maintain visual harmony across campaigns. You can browse additional styles directly here: Sacrumy Font. Adding complementary weights allows you to scale messaging without switching families mid‑project.
What steps should you take before finalizing a print run?
- Export a 100% scale PDF proof and review edge quality at actual dimensions.
- Test color inversion on your specific substrate to confirm contrast thresholds.
- Verify commercial usage rights match your sales channel and region.
- Run a sample cut or press job to check ink spread on textured fabrics.
- Adjust tracking by two to four units if descenders collide with lower artwork.
Treat the initial layout as a structural skeleton. Adjust spacing, lock alignment grids, and duplicate key elements to compare variations. Pick the arrangement that maintains hierarchy without forcing the viewer to hunt for the main message. Save your working template with linked assets so future revisions stay consistent.
Quick validation tip before final export: Reduce your mockup to twenty percent to check word shape separation, then zoom back in to verify curve smoothness. Confirm bleed zones meet printer specs. Export only when both views hold up, and archive the project folder with the date and font version for easy reorders.
Learn More Finn Font: Design Ideas for Modern Projects
 Twinklix Font: Creative Design Projects & Ideas
 Maverick Font: Creative Design Ideas & Tips
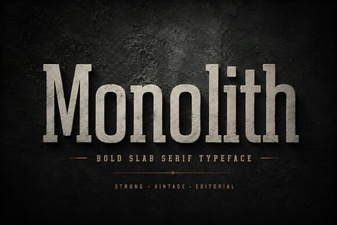 Monolith Font: Design & Usage Guide for Creative Projects
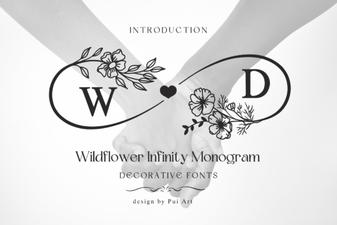 Monogram Font Ideas for Modern Craft Projects
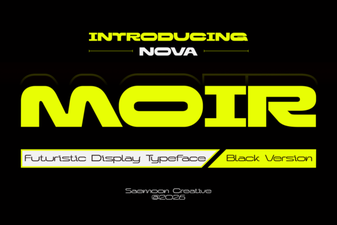 Nova Moir Font: Creative Design Projects & Ideas